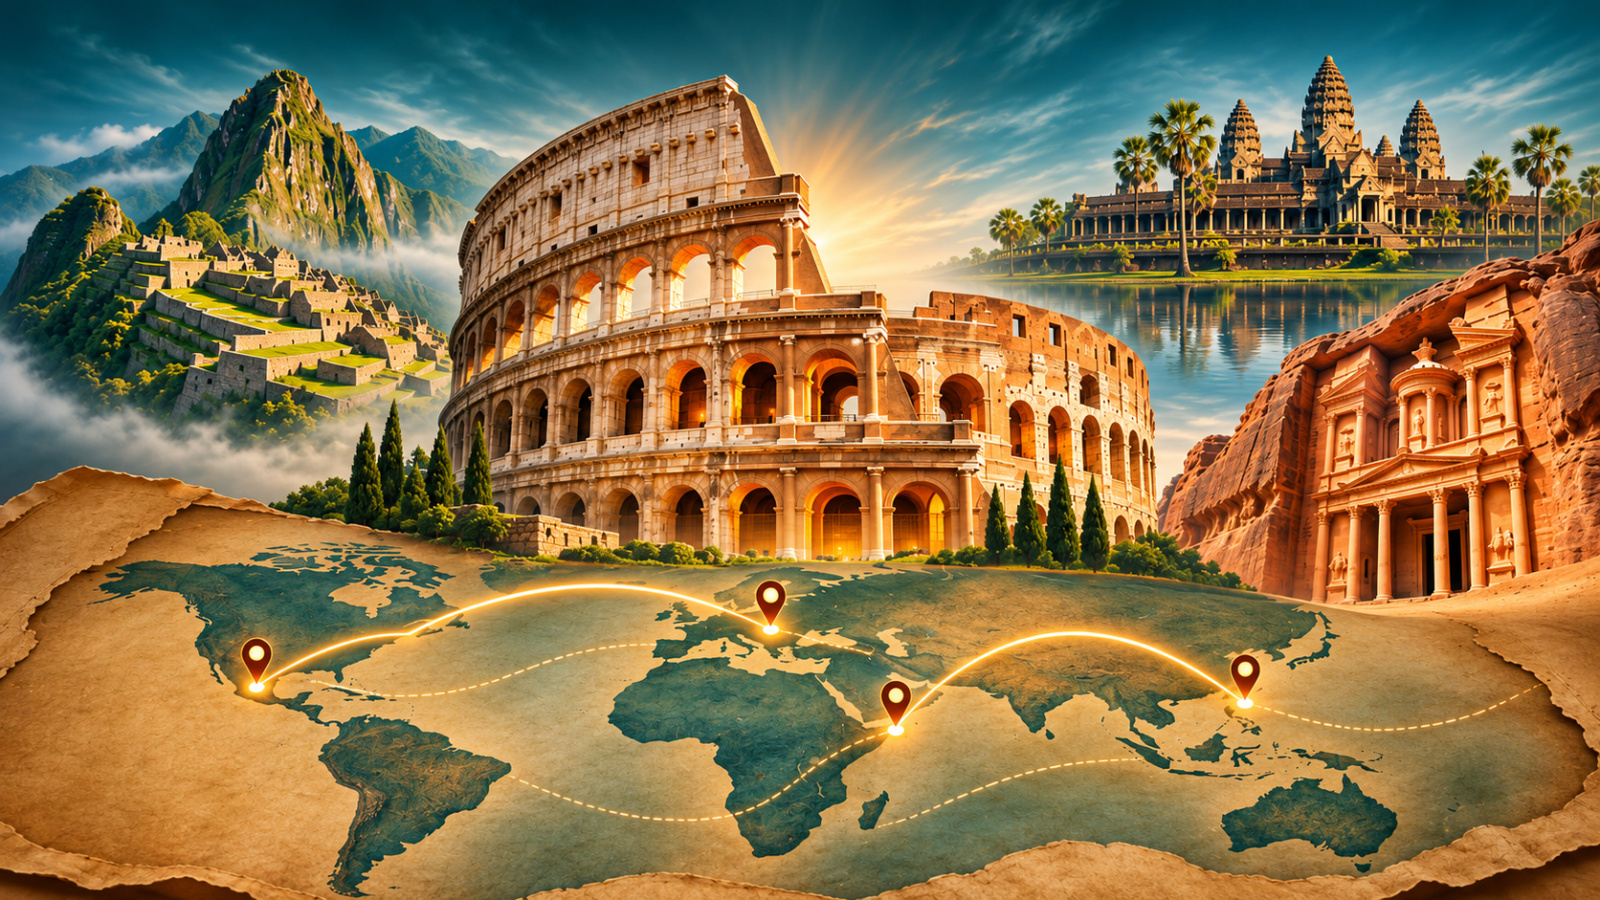
A Creator Kit for turning historic sites and landmarks into animated map documentaries. The prompt frameworks cover the world's most recognisable monuments, the civilisations that built them, and the geography that explains why they sit where they do. Each block is written to produce a scene where a real location is established first, then revealed through an orbital camera move, a highlighted region and an animated route, so the landmark's story is told spatially rather than as a list of dates. You get prompts for satellite establishing shots, cutaway and cross-section views, before-and-after reconstructions and comparison panels placing monuments side by side. The kit includes guidance on historical accuracy, on keeping architectural detail consistent across scenes, and on pacing an eleven-scene sequence for short-form video.
How to build a landmark documentary with this kit
Start with one place and one question. A short reel cannot explain an entire civilisation, but it can explain why a gate was built, how a monument changed, or why a familiar story needs checking. Use the downloadable framework to organise your production, then make the research and editorial choices yourself.
1. Prepare a source brief before generating scenes
Write down the landmark’s name, location, period and the specific question your video will answer. Keep a separate list of confirmed facts, disputed interpretations and local legends. For each factual claim, save a source title and link, plus the passage that supports it. Start with the site’s official heritage organisation, a museum catalogue or an archaeological publication. An AI-generated citation is a lead to investigate, not evidence.
Choose the map extent next. A city-level story needs nearby streets, rivers or terrain; a regional journey may need a country view. Check place names and coordinates against a reliable map before adding labels. Do not use a modern national border to represent an ancient boundary without explaining the difference.
2. Turn your research into a production brief
Open the PDF below in an AI tool that supports document uploads, or copy its prompt text. Supply your topic, audience, narration language and verified source notes. Ask the tool to flag missing information rather than fill it with invented dates, quotations or archaeological details. Read the proposed narration before generating images; correcting a sentence is easier than rebuilding several finished scenes.
Use the kit’s 11-scene, 77-second structure as a planning framework. Give each scene one job: locate the place, explain a change, show evidence, or resolve the opening question. Read the narration aloud and adjust it to the actual speaking pace. If a scene needs too many qualifications to fit, simplify the claim instead of removing the uncertainty.
Worked example: a fictional harbour gate
This example demonstrates the method; it is not a historical claim or a tested output from the downloadable kit. Imagine a fictional harbour gate called North Quay Gate. Your research notes distinguish its original entrance from a later repair. The useful question is “Why does this gate look different in two drawings?” rather than “The secret history nobody knows.”
Example input: “Plan a vertical documentary about North Quay Gate using only the source notes I supply. Explain the difference between the original structure and the later repair. Use one location map, a clearly labelled reconstruction and a comparison view. Mark any unsupported detail as needing research. Keep legend separate from documented evidence.”
Example scene plan: Open on the two drawings; establish the gate’s position on a simple map; compare the feature that changed; explain what the available evidence can support; finish by answering the opening question. In your real project, replace the fictional name and supply real sources before developing the full sequence.
3. Generate, edit and check the visuals
Keep a reference sheet for the building’s silhouette, materials, surroundings and time period. Reuse it across scenes so windows, roofs and walls do not change accidentally. Label AI reconstructions where viewers could mistake them for archival evidence. Add important map labels in your editor when generated lettering is unreliable, and keep the map visible long enough to understand the location.
Common problems include mixing ruins with a fully restored building, inventing an underground passage, placing a coastline incorrectly, or presenting a legend as established fact. Compare each scene with the source brief. If a detail cannot be verified, remove it, qualify it, or show a simpler view. Add readable captions, balance narration against music and review the final export on a phone.
Before you publish
Check names, dates, maps, source credits and asset permissions. A generated visual is an interpretation, not a primary source. The kit helps organise prompts; it does not guarantee factual accuracy, audience growth or platform monetisation. For the overall production workflow, follow the step-by-step video instructions.
Download the framework and topic list
Share this guide